Shop Online. Expert Advice. Personal Service. Speak to a Specialist: 087 012 5286 • Contact Us
-
Doors
-
-
Door Hardware
-
Windows
-
-
-
Specials
-
Your cart is currently empty.
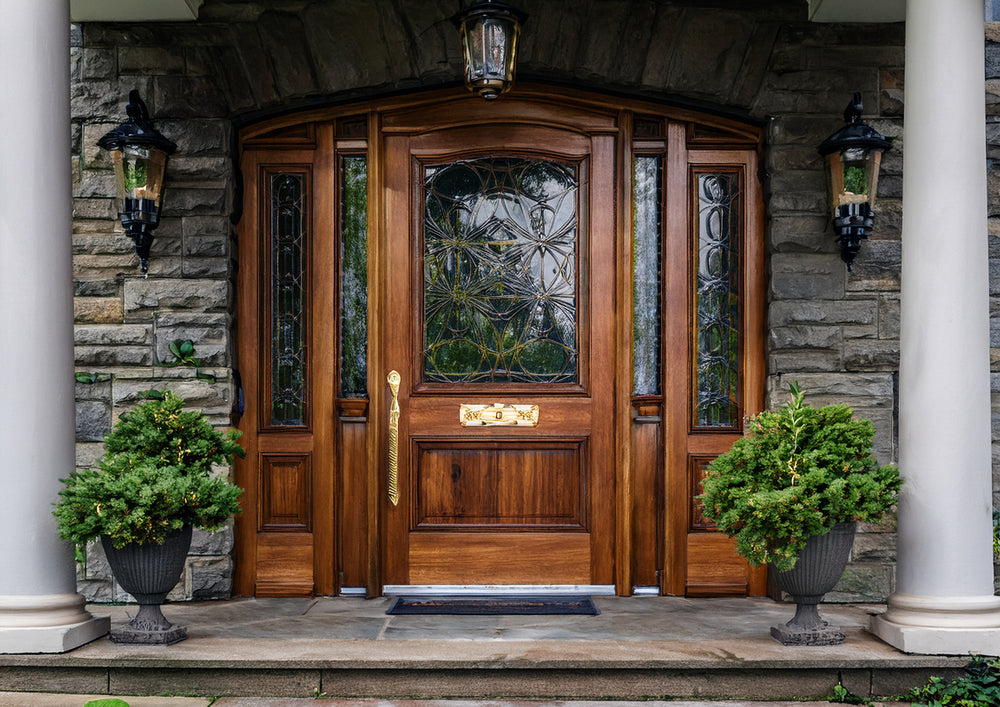
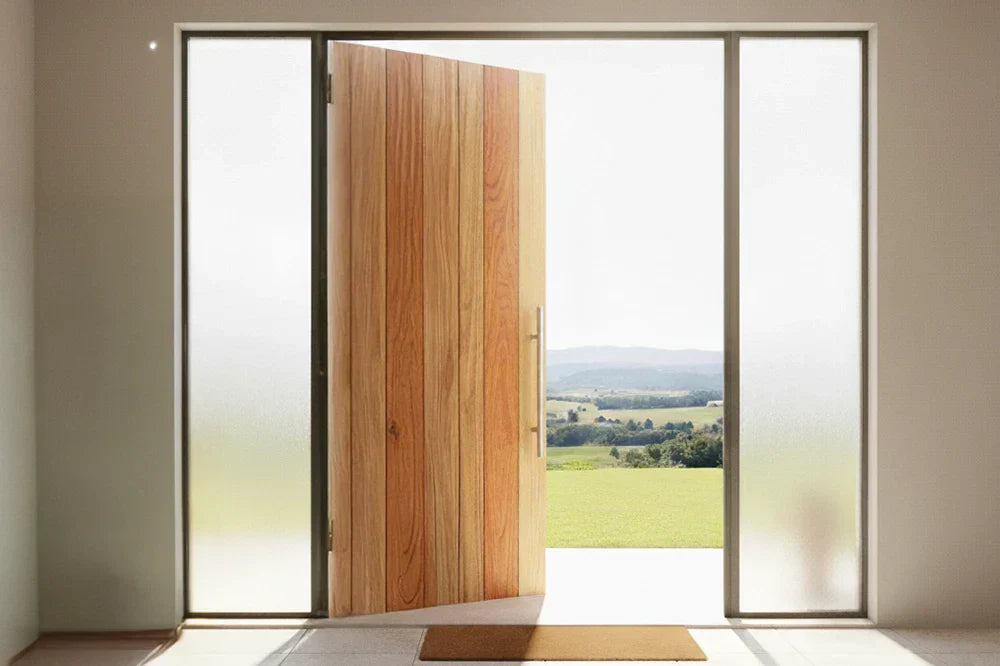
Swartland Door Sale! Up to 40% off!
Limited-time offer on peremium Swartland doors!
Upgrade your home with high-quality Swartland doors at unbeatable prices. Enjoy discounts from 5% to 40%, but hurry–stock is limited!
Shop now and save big!
40% off Swartland sale


Subscribe today to hear first about our sales
Customer Service
My Account
© 2026
Doors Direct
GuaranteesPrivacy PolicyRefund PolicyDelivery InformationTerms of ServiceStore by the { web } elite